When it comes to fastening components with precision, m12x1 5 bolts stand out as a reliable choice. Whether you’re working on automotive repairs or DIY projects around the house, understanding how to install these bolts correctly can make all the difference in achieving durability and safety. But fear not if you’ve never tackled this task before; our step-by-step guide will walk you through everything you need to know for a successful installation. From preparing your surface to ensuring that each bolt is tightened just right, this post has got you covered! So grab your tools and let’s dive into the world of m12x1 5 bolts together.
What are m12x1 5 Bolts?
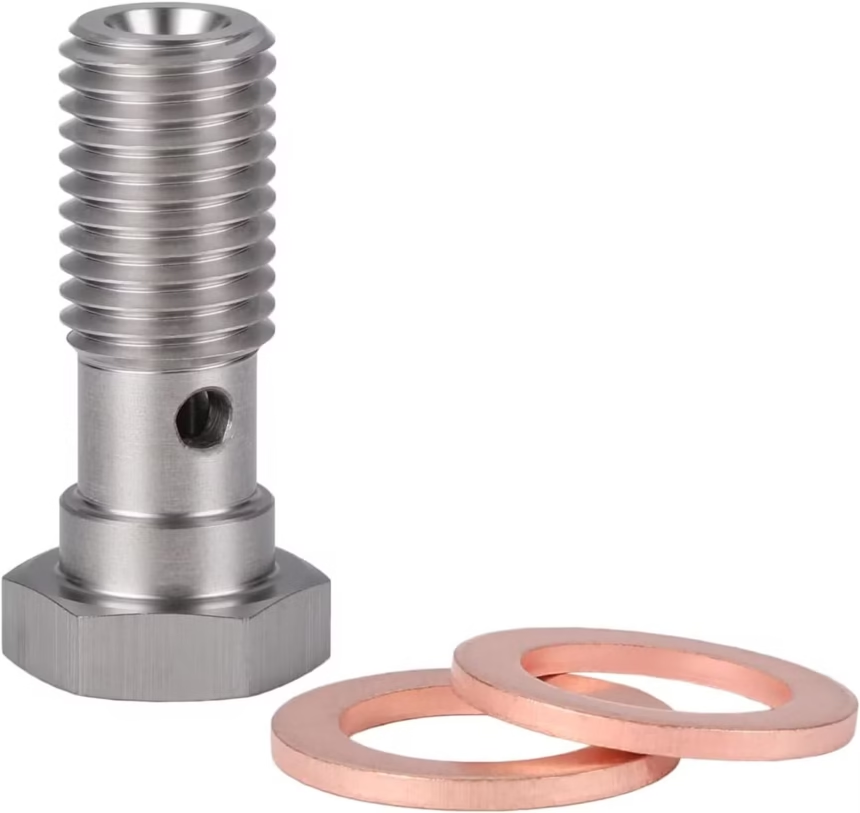
m12x1 5 bolts are a specific type of metric fastener widely used in various applications. The “m” indicates that they are metric, while “12” refers to the nominal diameter of the bolt in millimeters.
The “1 5” signifies the pitch, which is the distance between threads measured in millimeters. In this case, it means there are 1.5 millimeters between each thread crest.
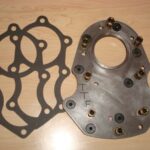
These bolts are known for their strength and reliability, making them ideal for securing heavy components like machinery parts or automotive assemblies. Their robust design allows them to withstand considerable stress and strain.
You can typically find m12x1 5 bolts made from materials like steel or stainless steel, providing options depending on your project’s needs. This versatility makes them a favorite among both professionals and DIY enthusiasts alike.
Tools Needed for Installation
When installing m12x1 5 bolts, having the right tools is essential for a successful project. Start with a good quality socket wrench or a ratchet that fits your bolt size perfectly. This will ensure you can easily tighten and loosen the bolts as needed.
A torque wrench is also crucial. It helps achieve the correct tightness without over-torquing, which could damage both the bolt and its surrounding material.

Don’t forget about safety gear. Gloves protect your hands from sharp edges, while safety glasses shield your eyes from debris during installation.
Keep a wire brush handy to clean off any rust or dirt from the surface where you’ll be securing those bolts. Clean surfaces allow better grip and longevity of installations.
Step 1: Preparing the Surface
Before diving into the installation of m12x1 5 bolts, it’s crucial to prepare your surface properly. A clean and even base sets the stage for a successful fitting.
Start by clearing away any debris or old fasteners from the area where you’ll be working. Dust, dirt, or grease can compromise the integrity of your installation. Use a brush or cloth to ensure everything is spotless.
Next, inspect the surface for any irregularities. Dents or rust can prevent a secure fit. If you find any imperfections, consider sanding them down or applying a suitable filler to create an even plane.
If you’re working with metal surfaces, ensure they are free from corrosion. A light application of lubricant may help facilitate smoother operations during bolt insertion later on. Taking these steps will lead to better results when it’s time to install those m12x1 5 bolts.
Step 2: Positioning the Bolt
Positioning the bolt correctly is crucial for a successful installation. Start by aligning the m12x1 5 bolt with its corresponding hole. It’s essential to ensure that it fits snugly without forcing it into place.
Once you have aligned the bolt, give it a gentle push downwards. This will help seat it properly within the threaded area. Pay attention to any resistance; if you feel any significant force needed, double-check your alignment.
Using your fingers, screw in the bolt lightly until you can grasp it firmly but not overtighten at this stage. This initial hand-tightening helps maintain alignment while preparing for tightening later on.
Remember to keep everything steady throughout this process. A precise position now will save time and effort during subsequent steps of installation. Taking a moment here pays off significantly when securing components together securely.
Step 3: Tightening the Bolt
Once the bolt is positioned correctly, it’s time to tighten it. This step requires precision and care.
Begin by using a torque wrench set to the manufacturer’s specifications for m12x1 5 bolts. Over-tightening can strip the threads or damage surrounding materials, while under-tightening may lead to loosening over time.
Apply steady pressure as you turn the wrench in a clockwise direction. It’s essential to keep your grip firm but gentle. Monitor your progress closely; listen for any unusual sounds that could indicate problems.
If you’re working with multiple bolts, follow a crisscross pattern when tightening each one. This ensures even distribution of tension across all points.
After reaching the recommended torque level, double-check each bolt again to confirm everything is secure before moving on to further assembly or usage tasks.
Common Mistakes to Avoid
When installing m12x1 5 bolts, several common mistakes can lead to issues down the line. One frequent error is neglecting to clean the surface before installation. Dirt and debris can compromise the integrity of the bolt connection.
Another mistake is using incorrect tools. Always ensure you’re using a wrench or socket that fits perfectly with your m12x1 5 bolts. An ill-fitting tool can strip bolts or cause damage.
Over-tightening is also a concern. It might seem like a good idea initially, but too much torque can weaken components or even break them entirely.
Overlooking proper alignment during installation may create stress points in your assembly. Take the time to position everything correctly for optimal performance and longevity of your m12x1 5 bolts.
Tips for Proper Maintenance of m12x1 5 Bolts
To keep your m12x1 5 bolts in top condition, regular inspections are crucial. Look for signs of wear or corrosion. Addressing issues early can prevent bigger problems later.
Another key tip is to clean the bolts periodically. Use a soft brush and mild cleaner to remove dirt and grime. This simple step helps maintain their integrity.
Lubrication is also essential for optimal performance. Apply a suitable lubricant before installation to enhance ease of tightening and protect against rust.
When storing spare bolts, ensure they’re kept in a dry environment. Moisture can lead to deterioration over time.
Always use the correct torque specifications during installation and maintenance tasks. Over-tightening can cause damage while under-tightening may compromise stability.
Conclusion
Installing m12x1 5 bolts can greatly enhance the durability and reliability of your projects. By following the proper steps, you’ll ensure they are fitted correctly, reducing the risk of issues later on.
Regular maintenance is key to longevity. Check for signs of wear or rust periodically to keep everything in top shape.
Whether you’re a DIY enthusiast or a seasoned professional, these bolts offer versatility across various applications. Embracing this knowledge empowers you to tackle your projects with confidence.
Stay informed about best practices and advancements in fastening technology. This will help you make better choices for future endeavors.
Remember that each project is unique, so adapt techniques as needed while keeping safety at the forefront.